White Sands National Park is a strikingly beautiful place. The sand is largely comprised of gypsum, making it appear white like snow. In some photos, it can be hard to tell the difference. You can explore this park in a number of different ways. From hiking to historical walkthroughs, it’s a must-see for anyone passing through New Mexico. However, the most unique and worthwhile reason to visit is sand sledding. In this article, you will learn the 3 steps you need to take in order to optimize your White Sands sledding experience.
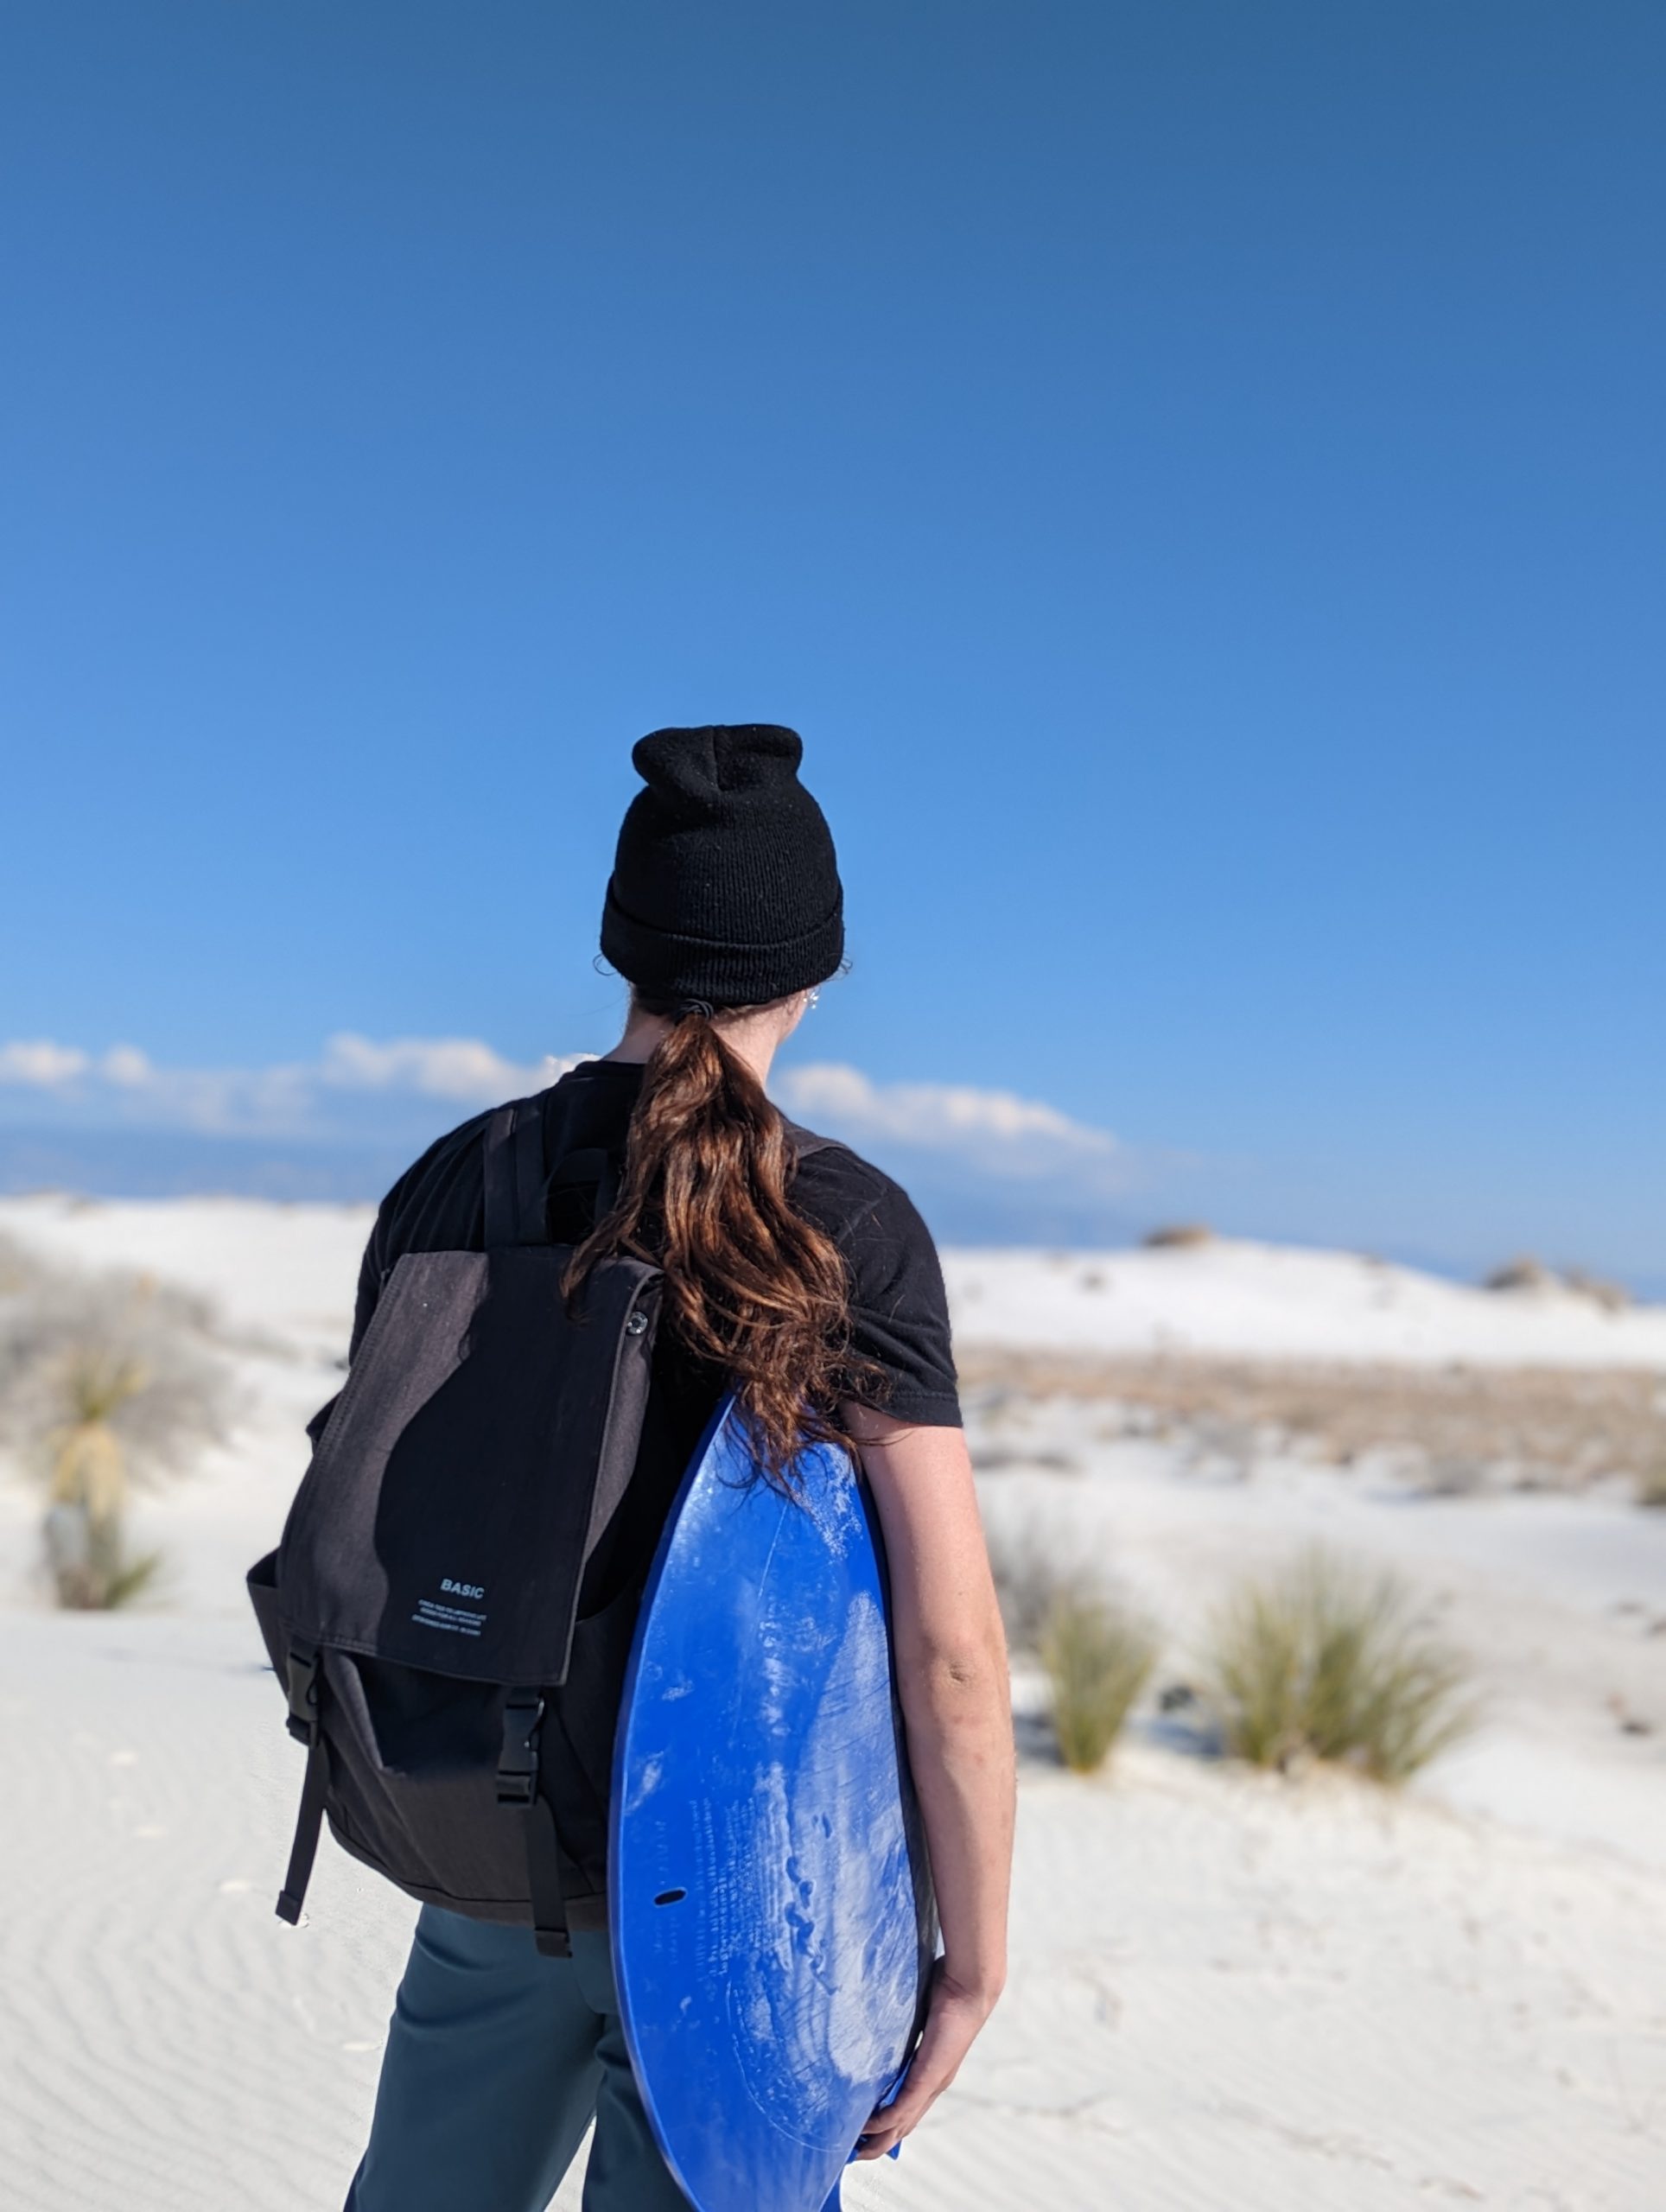
Fully-grown adults – do not be deterred. Who’s to say we can’t have a blast slipping and sliding down the sand? All the photos in this article are from my solo road trip from TX to AZ. There’s no shame in taking yourself on a once-in-a-lifetime adventure. I’m here to confirm that you can have a blast at White Sands – no matter who you are.


Be warned – the sand sledding experience is not the same as on snow. Snow becomes slick and slippery very easily, while sand tends to fit the shape of whatever impacts it. Because snow is comprised of water, it will melt and smooth out into ideal sledding tracks. Sand is much more difficult to work with.
You can still have a wonderful time sand sledding, but you need to be prepared with a game plan for success. Lucky for you, this article will equip you with everything needed for the best White Sands sledding adventure. First, you need a good sled.
1. first step, buy a sled
The cheapest place to get a sled is also the most convenient. At the White Sands National Park visitor center, you can get a disc-style sled for $20 new or $10 used. The store will also buy back these sleds for $5 and $3 respectively.
The quality of these sleds is not guaranteed, so you may end up wanting a better sled in the end. If you care most about convenience and saving money, this is the way to go.


Compared to disc sleds or toboggans, wooden skim boards blow everything else out of the water.
More flexible sleds are bound to sink into the sand the minute you start moving. You’ll want something hard and flat for the best results. You can find wooden skim boards online for $30-$40. It’s a step up in price, but your sand sledding experience is much more likely to be a success.
For those who want to bring snowboarding to the desert, go for it! Some snowboarders use their regular snowboards, but they’re not as speedy as a board designed for the sand. Plus, your board could get ruined in the process.
This sandboard is great for beginners and boarding veterans. It’s designed for the sand and is more maneuverable and faster than the other sledding options.

2. wax (this is crucial for sledding success)
For the best White Sands sledding experience, you’ll want to pick up some wax.
Board wax will reduce friction between the sled and the sand, allowing you to go faster and ride more smoothly. The wax for sale at the visitor center ($2.99 for a lump) is difficult to apply but works just the same.
This snowboard wax seems to be the best bang for your buck. It’s more than enough wax for you and a few friends, and it’s a bit easier to apply. All you need to do is rub the wax all over the bottom side of the board (the side that will be against the sand). It will be a lot easier to pick up speed and maneuver down the dunes.

3. time to hit the dunes!

Once you have your sled and wax, all you need to do is drive out and find some great sand dunes. Another key to your success will be packing down the sand and making a trail down the hill. The packed sand will make you go faster – especially after two or three passes.
While rain can ruin some national park trips, it actually bodes well for you and your sand sledding escapades. If you’re lucky enough to visit after a rainstorm, the sand will be super slick. The water will pack it down tight and make it much easier to get a smooth track going. Jump on your sled and have a blast!
Click here for more information on hiking trails and entrance fees at White Sands National Park.


